No products in the cart.
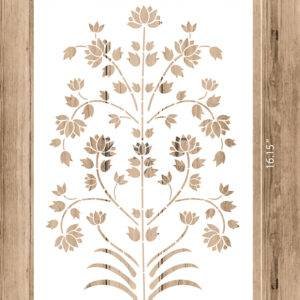
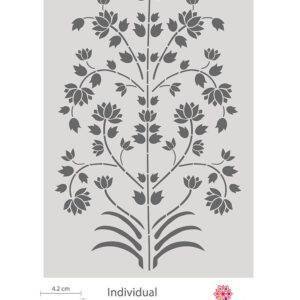
Imperial Lotus Stencil
Product Details
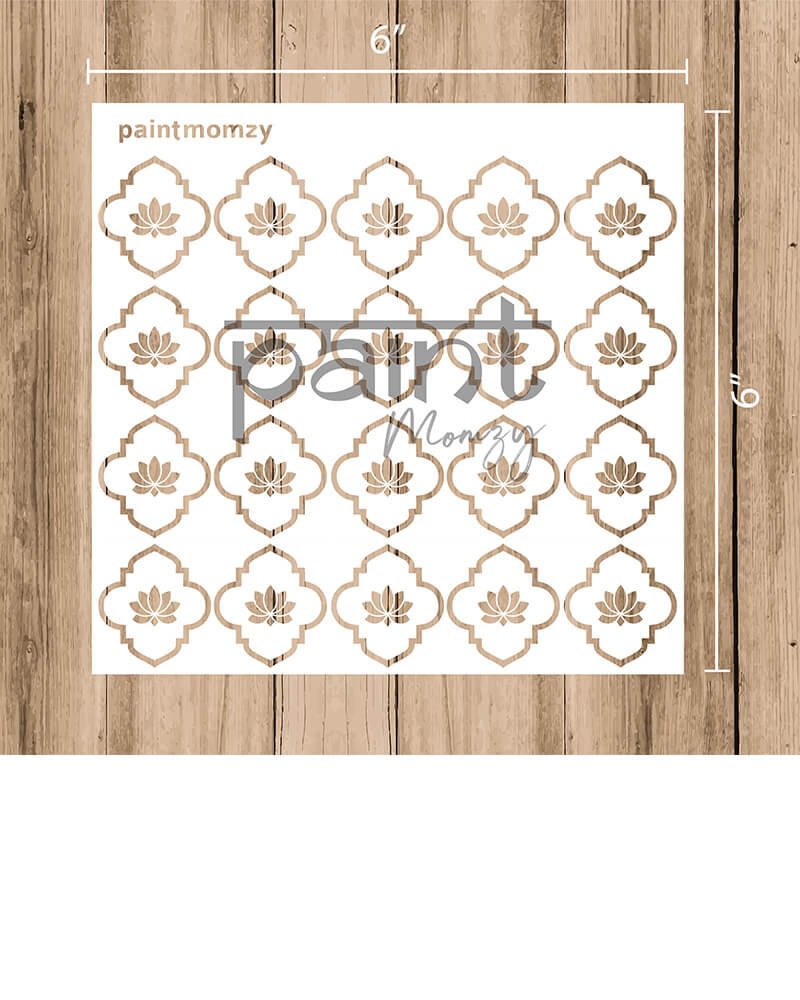
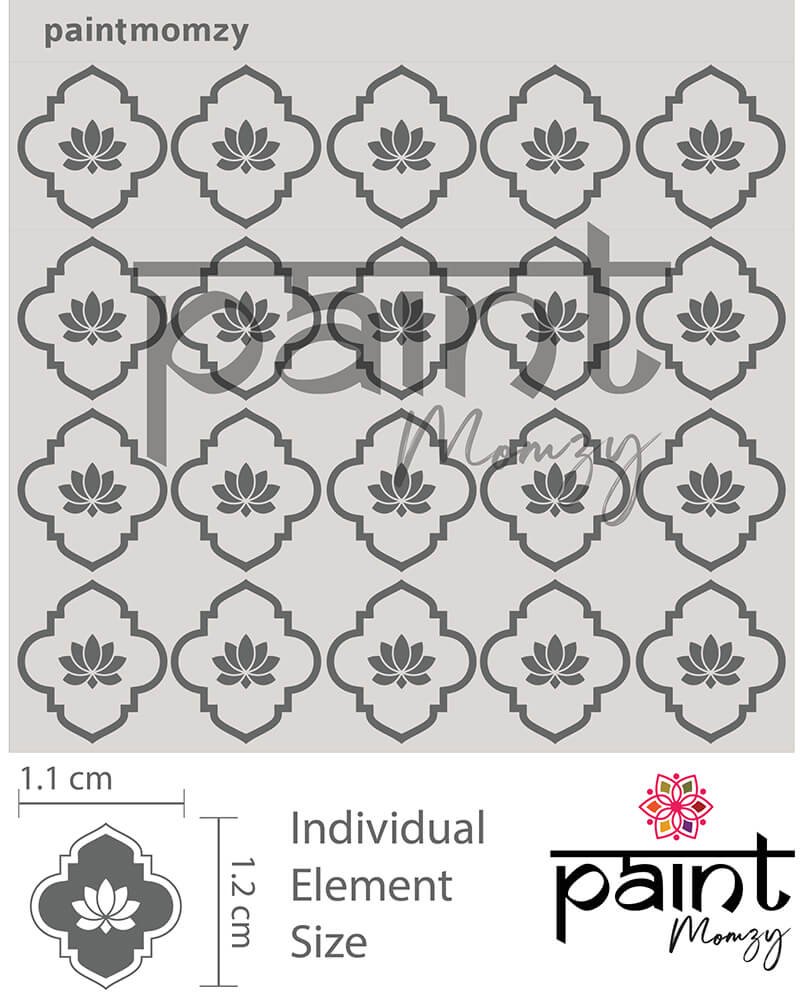
Step into the world of regal elegance with our “Imperial Lotus” stencil, inspired by the magnificent Mughal jali patterns adorned with the timeless beauty of the lotus flower. This exquisite stencil seamlessly combines the intricate geometric motifs of Mughal jali with the grace and symbolism of the lotus, creating a captivating design that exudes opulence and spiritual harmony.
The lotus, a revered symbol in many cultures, represents purity, enlightenment, and spiritual awakening. Its graceful petals and serene presence bring a sense of tranquillity and divine beauty to any setting. By incorporating the lotus into our Mughal jali pattern stencil, we infuse it with an additional layer of symbolism, connecting the regal opulence of the Mughal era with the spiritual essence of the lotus.
The “Imperial Lotus” stencil offers a multitude of creative possibilities:
Furniture Embellishment: Elevate your furniture pieces with the regal touch of the “Imperial Lotus” stencil. Apply it to tabletops, cabinet doors, or headboards to bring an element of Mughal opulence and spiritual symbolism to your home.
Craft Projects: Let your creativity bloom by incorporating the “Imperial Lotus” stencil into your craft projects. Whether it’s creating stunning artworks, embellishing textiles, or adding intricate designs to home accessories, this stencil allows you to infuse your creations with the rich heritage and timeless beauty of Mughal design.
Crafted with meticulous attention to detail, our “Imperial Lotus” stencil ensures that you can easily recreate the intricate jali patterns and the serenity of the lotus flower. Made from high-quality materials, it offers durability and reusability, allowing you to embark on multiple artistic endeavors inspired by the opulence and spirituality of the Mughal era.
Taking proper care of your stencils will help ensure their longevity and continued usability. Here are some care instructions to follow:
Clean gently: After each use, clean the stencil promptly to remove any paint residue. Use a mild soap or stencil cleaner and a soft brush or sponge to gently clean both sides of the stencil. Avoid using abrasive materials or harsh chemicals that could damage the Mylar surface.
Dry thoroughly: After cleaning, pat the stencil dry with a clean cloth or paper towel. Ensure that the stencil is completely dry before storing.
Store flat and protected: Store your Mylar stencils flat in a clean and dry location. Avoid folding or creasing the stencils, as this can compromise their integrity. If you need to store multiple stencils together, consider using protective sleeves or a flat storage container to prevent them from rubbing against each other.
Handle with care: When using the stencils, handle them gently to avoid bending or tearing. Hold the stencil by the edges or use masking tape to secure it in place during application.
Avoid extreme temperatures: Mylar stencils are generally resilient to temperature variations. However, it is best to avoid exposing them to extreme heat or cold, as this can affect their shape and longevity.
By following these care instructions, you can ensure that your stencils remain in excellent condition for multiple uses and projects. With proper care, your stencils will continue to deliver clean and precise designs, allowing you to explore your creativity with ease.
Using stencils can be a fun and rewarding way to add design elements to various surfaces. Here are some general instructions to help you get started with using stencils:
- Prepare your surface: Ensure that the surface you plan to stencil on is clean, smooth, and dry. Remove any dust, dirt, or previous coatings that may affect the adhesion of the stencil or the quality of the design.
- Secure the stencil: Depending on the surface and stencil material, you can use various methods to secure the stencil in place. Options include tape, adhesive spray, or repositionable stencil adhesive. Make sure the stencil is firmly secured to prevent it from moving during application.
- Choose your painting method: Select the appropriate painting method for your project and stencil material. Common options include using a stencil brush, sponge, roller, or spray paint. The choice depends on the desired effect and the surface you are working on.
- Load your brush or sponge: If using a stencil brush or sponge, dip it lightly into the paint and then offload any excess paint onto a paper towel or palette. It’s important not to overload the brush or sponge with paint to avoid bleeding or smudging the design.
- Apply the paint: Hold the stencil firmly in place with one hand while applying the paint with the other. Use a gentle tapping or swirling motion to apply the paint through the stencil openings. Ensure that the paint is evenly distributed without seeping under the edges of the stencil.
- Build up the design: If your stencil design requires multiple colours or layers, allow the paint to dry completely before repositioning the stencil for the next layer. This will help prevent smudging or mixing of colours.
- Remove the stencil: Once you have finished applying the paint, carefully remove the stencil from the surface. Take care not to smudge the design as you lift the stencil away.
- Clean the stencil: Immediately after use, clean the stencil to remove any paint residue. Follow the specific cleaning instructions for the stencil material. Clean stencils last longer and ensure better results in future projects.
- Let it dry and finalize: Allow the painted design to dry fully before handling or applying any additional finishes or sealants, if desired. Follow any recommended drying times for the type of paint you used.
With these general instructions in mind, you can confidently start using stencils to enhance your creative projects. Experiment with different techniques and materials to achieve unique and stunning results. Enjoy the process and let your imagination run wild!
| sizes | 6 in X 6 in |
|---|









Reviews
There are no reviews yet